XR4Ti build, possible future Rally car?
Posted by dunhamr1
|
dunhamr1 Ryan Dunham Mega Moderator Location: Hurst, TX Join Date: 09/17/2015 Age: Settling Down Posts: 158 Rally Car: 1989 Merkur XR4Ti |
Fair, and good solder is hard to find anymore. Like welding, may think they can do, but a good hand makes a much better product in the end, and good equipment/material also helps. |
I look at it in a fairly simple manner:
Do we used solder in industrial applications? The answer, overwhelmingly is NO. Especially in high-vibration areas. And considering we hand fabricate a lot of our equipment, I think that speaks volumes. There are certain applications where solder is appropriate in a car. For the most part, wiring connections are not them. |
dunhamr1 Ryan Dunham Mega Moderator Location: Hurst, TX Join Date: 09/17/2015 Age: Settling Down Posts: 158 Rally Car: 1989 Merkur XR4Ti |
Noted, which is why I've been using crimps. Probably should upgrade slightly from generic hardware store parts though, I'll be looking into Culberson's recommendations on the crimpers and heat shrinks. |
dunhamr1 Ryan Dunham Mega Moderator Location: Hurst, TX Join Date: 09/17/2015 Age: Settling Down Posts: 158 Rally Car: 1989 Merkur XR4Ti |
Next thing was to mock up some of the turbo assembly and attach the Cossie exhaust housing to the center section.
I set to assembling turbo on the bench. With the center section and the compressor never having been separated, I aligned the exhaust housing perpendicular to the center section so that the face of the oil drain would be facing down when the turbo was in the car. Anti-sieze on mating surfaces and bolts will save someone down the line if it ever has to come off again. 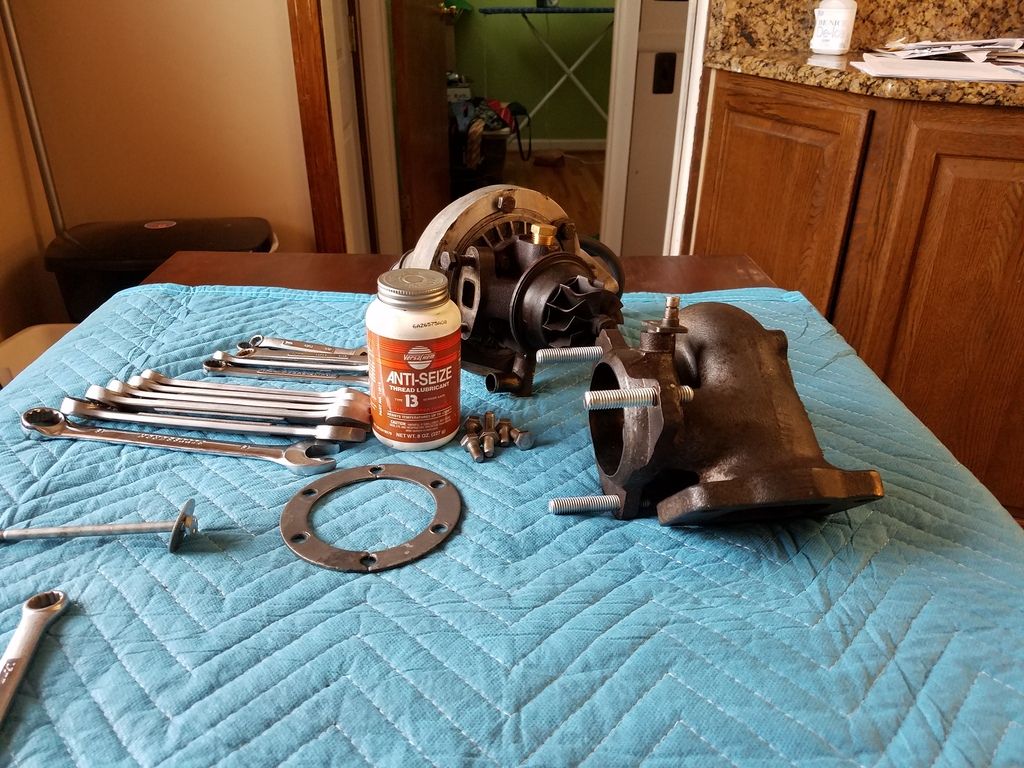
I sprung for stainless bolts to replace the rusted and rounded bolts to attach the center section, and went with a much less rusty set of retainers from Jeff (Blugg here) at Merkur Parts Midwest. He’s been a great help throughout the whole process not just with parts but also advice and educating me about the quirks of the XR4Ti. 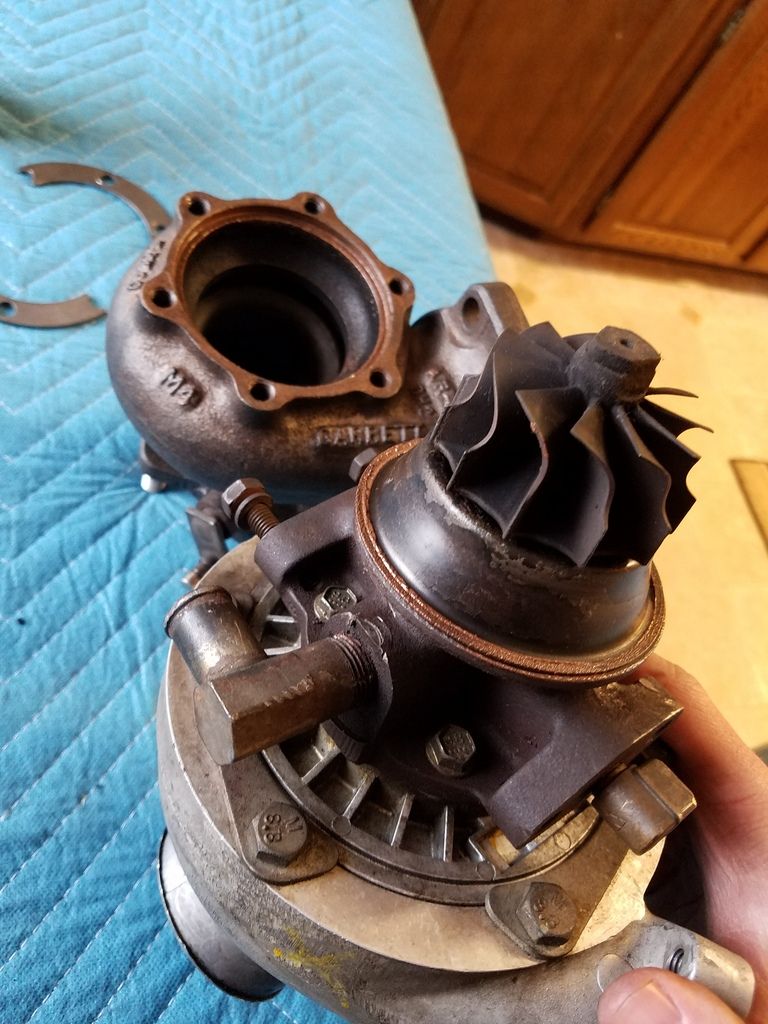
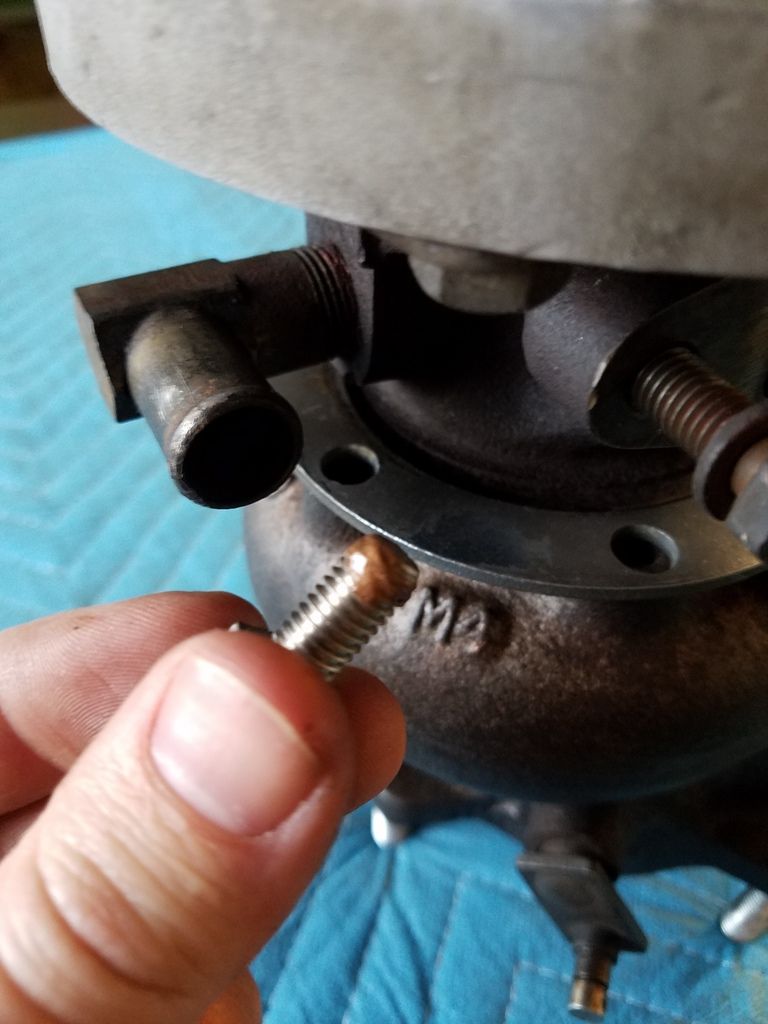
I had trouble getting any kind of nut further than a few threads onto the studs in my manifold, so I went and got a die that I ran up and down a few times which cleared up the threads. Plugged EGR fitting hole with pipe plug. 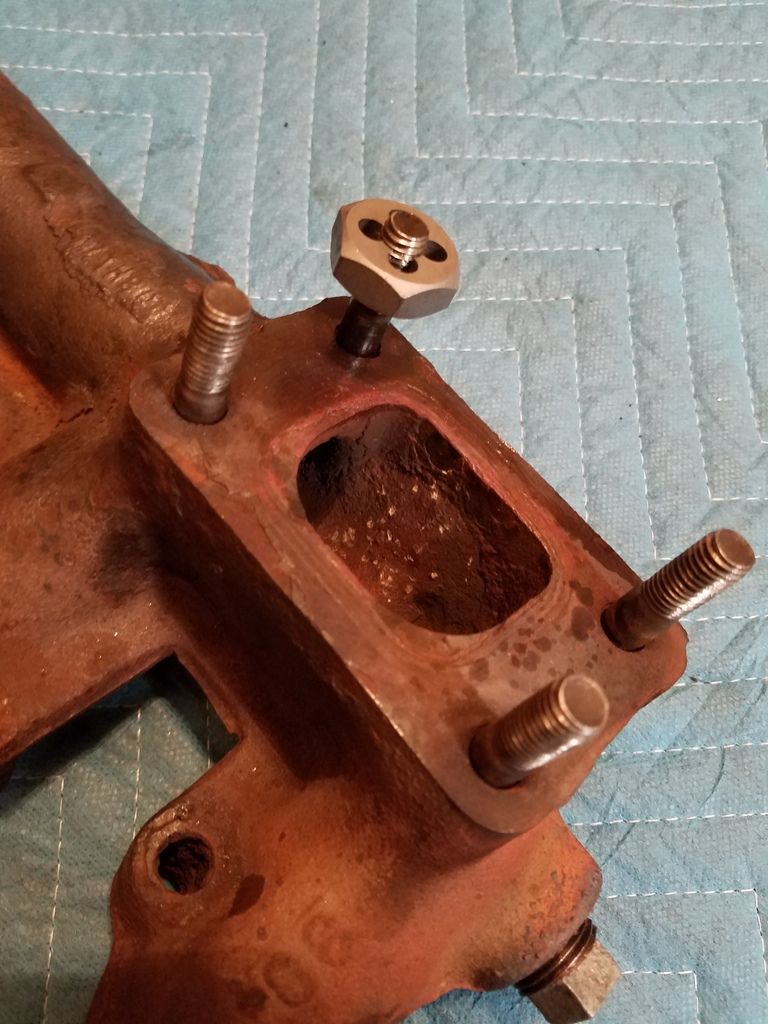
(photo of manifold with plug) Test-fitting the turbo on the manifold showed some interference with the exhaust housing and the stud, so some trimming was required. Put a nut on the stud and used the die grinder to take the stud height down to fit, chamfered the edge and turned the nut off to make sure the threads would engage. 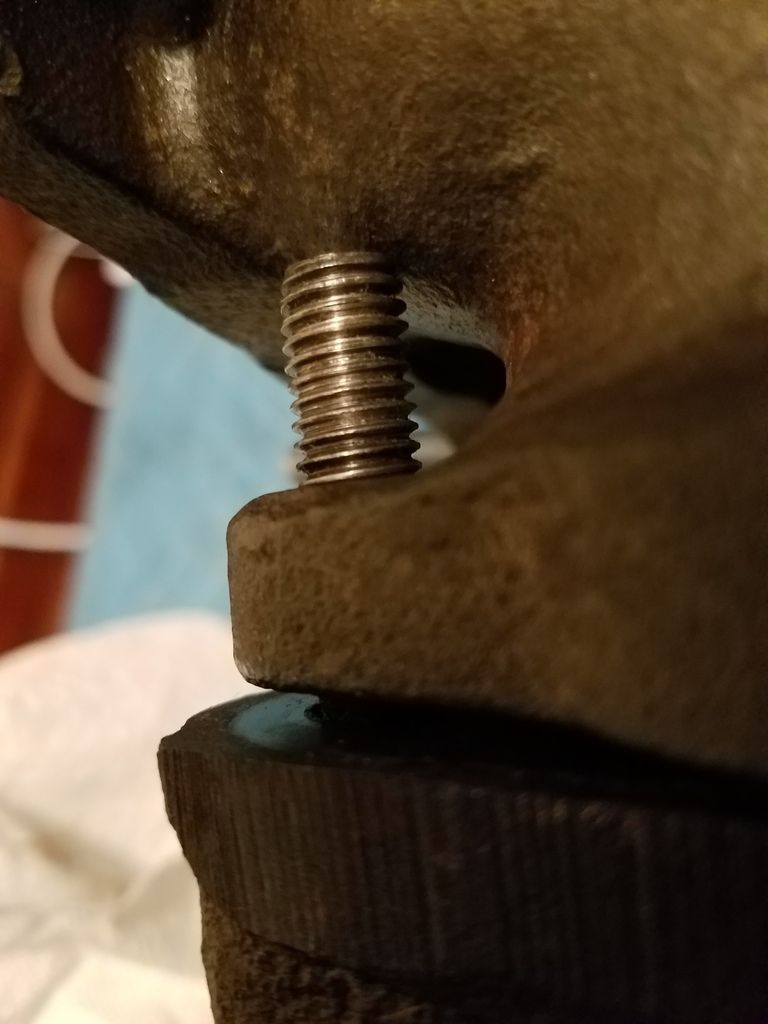
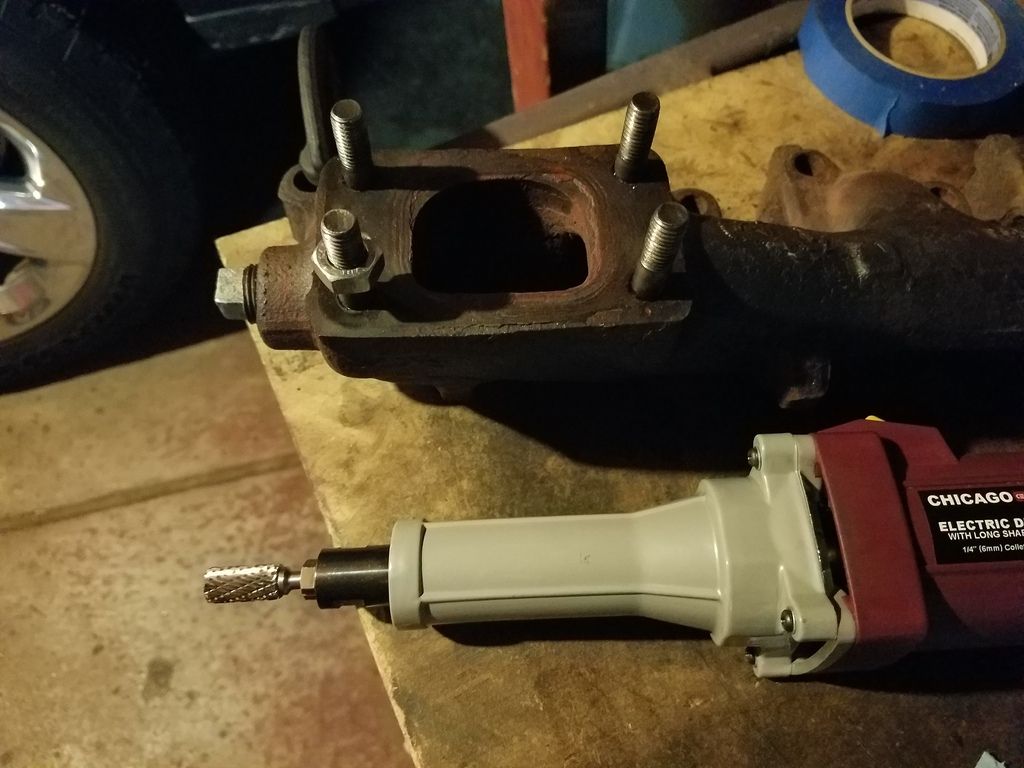
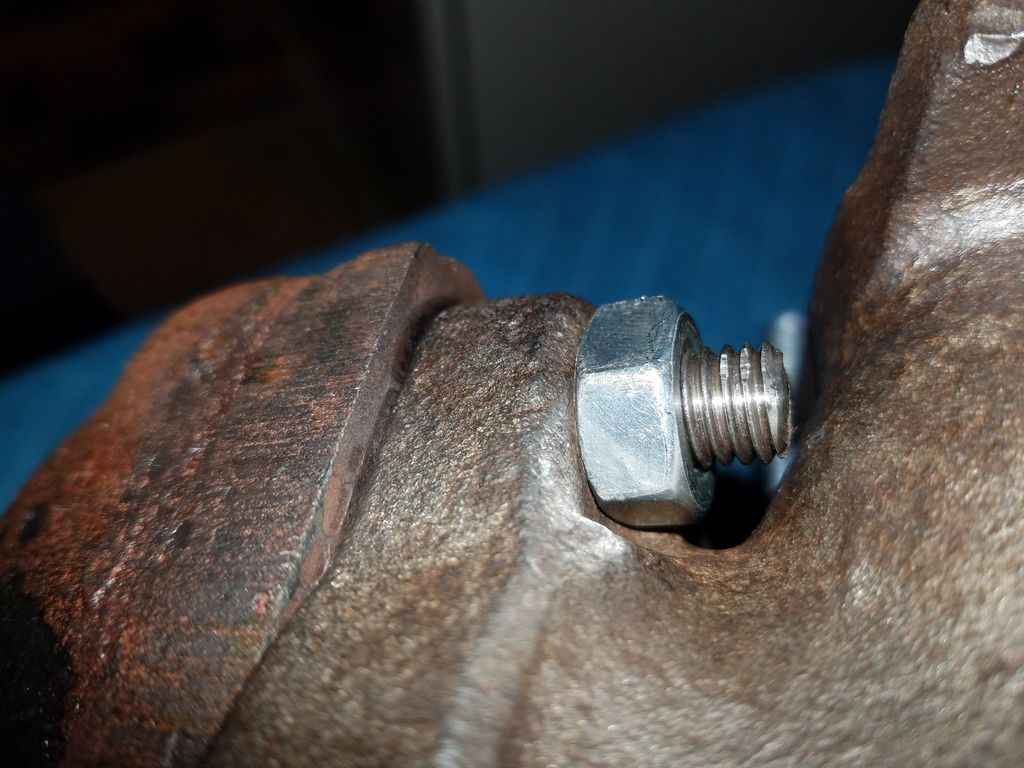
The stud now clears the housing and the turbo sits flush on the manifold surface (or at least as flush as it can with what parts have rusted away). The next update will be a bunch of little things, O2 sensor wire, injector cleaning, etc. Progress progress. The updates in this post were happening at the beginning of January of this year (2017), for reference. |
dunhamr1 Ryan Dunham Mega Moderator Location: Hurst, TX Join Date: 09/17/2015 Age: Settling Down Posts: 158 Rally Car: 1989 Merkur XR4Ti |
I tied up a few little odds and ends that needed to be checked / cleaned at some point. I’m trying keeping these posts more or less chronological as I try and catch up to the present, these updates were from around mid-January 2017, most of this is copied from my post on MCA, with a few text changes.
The 30 year old plastic plug for the O2 sensor crumbled to bits, so I crimped in a new connector. This was before previous conversations about the different crimp connectors and such, next wiring job will likely be different. 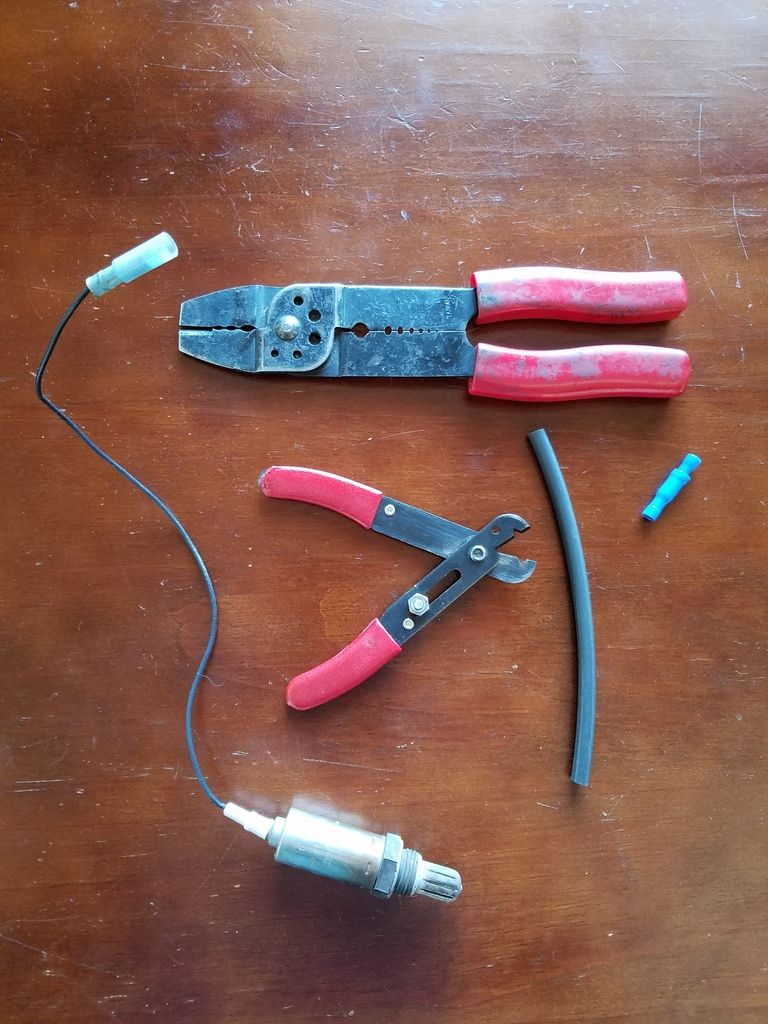
I then moved on to the injectors, of which I have a few options, but after checking part numbers, they’re all smaller (less flow) than the “Brown tops” which were the original injectors anyway. The budget nature of the work so far has kept me from sending them off to be cleaned and tested, so I decided to R&R the ones I have, myself. A bit of wire, a schrader valve from the hardware store (don't forget to remove the valve first, ask me how I know!), carb cleaner, the straw from the carb cleaner, and something to catch the carb cleaner coming out. Drill a hole in the cap for the Schrader, and plastic-weld the cleaner straw to the cap (pull it through and heat it, then pull it back into the cap once the plastic is melted). It's a delicate balance about how much heat to apply, because it's easy to melt too much. 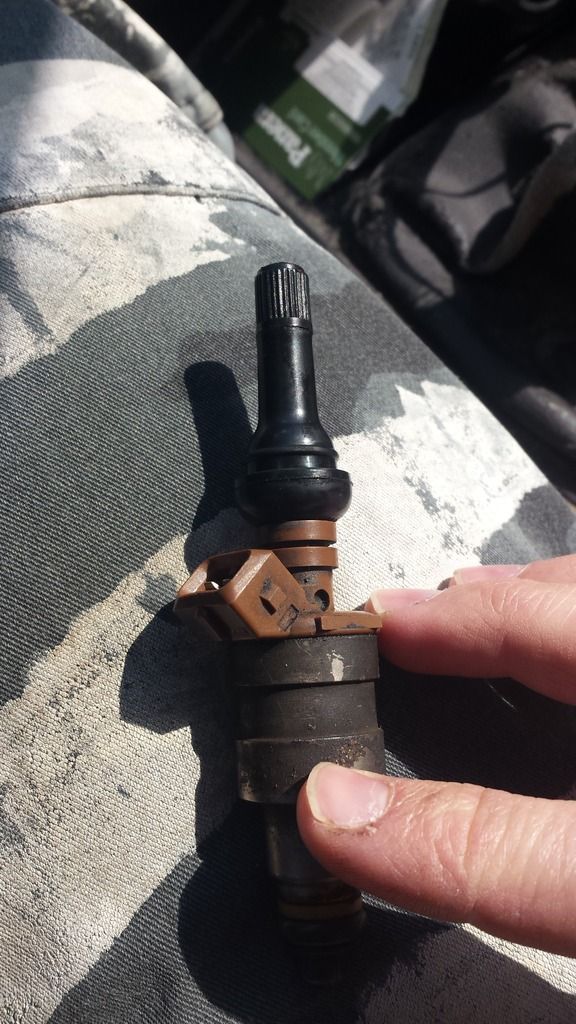
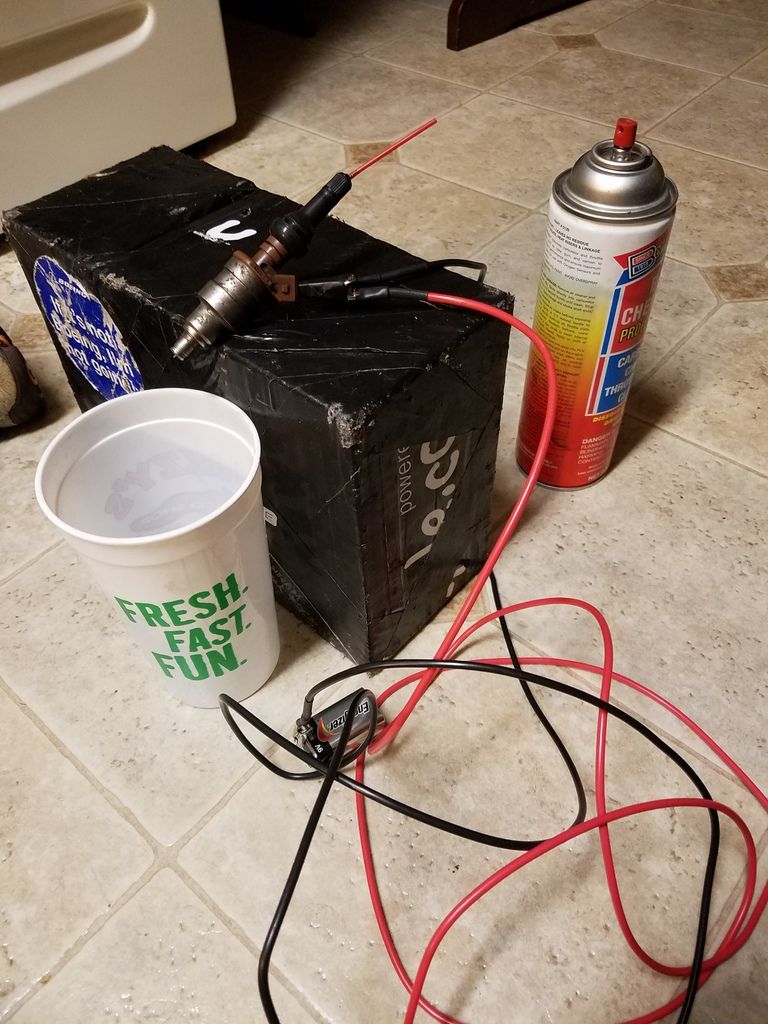
Yes I know this is a kitchen, but I don’t have anyone to yell at me about it (yet)... so shhh don’t tell my roommate! Pressurize the setup, tap the lead on the 9V to activate the injector and keep an eye on the spray pattern. I ran the injector both directions to back flush them and make sure things were clear. Afterwards, I put new pintle caps and o-rings on the top and bottom. On MCA I was informed that you could also replace the filter screen within the injector? YMMV, but something to think about if you're going to try this. 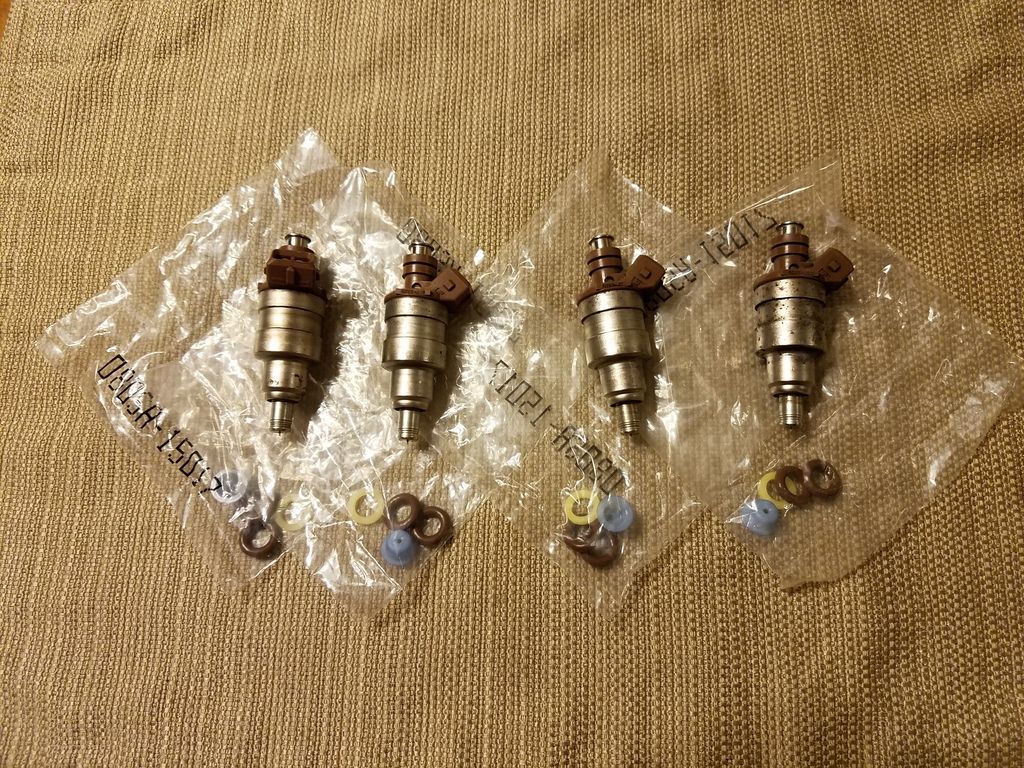
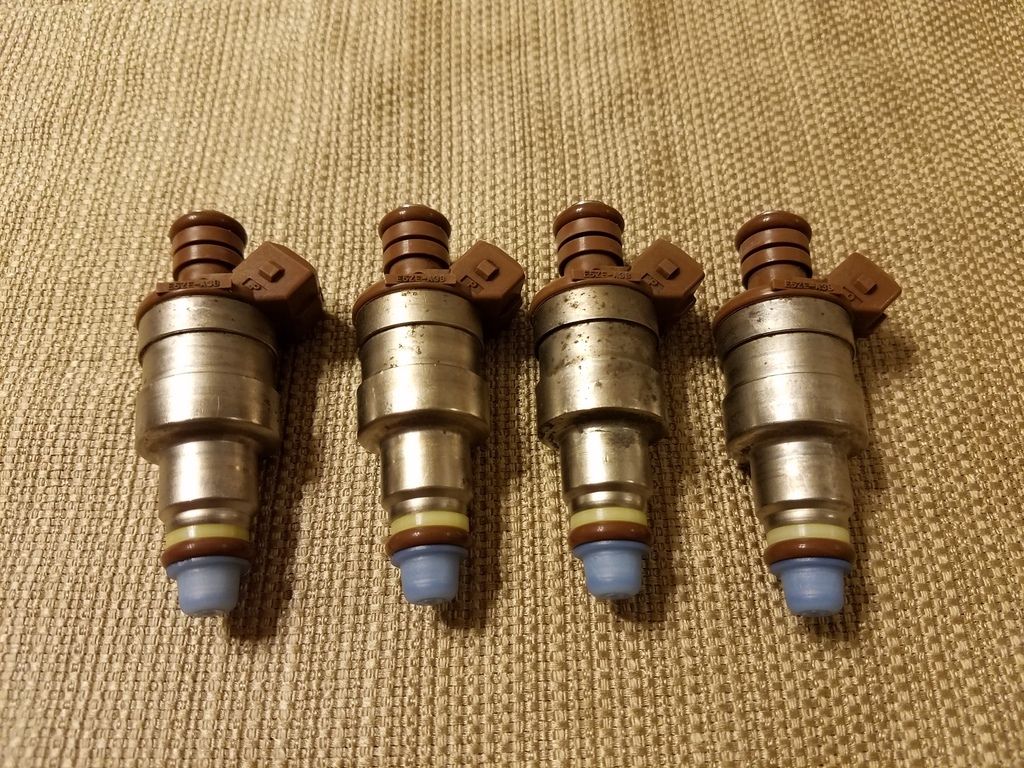
I made sure I had a TFI that tested good (local O'Reilly still had the right plugs to test it), so I'm not chasing my tail later with electronics that don't work. |
MarkHille Mark Hille Mod Moderator Location: The hills of CT Join Date: 10/04/2011 Age: Midlife Crisis Posts: 135 Rally Car: I have two crap boxes |
When I plugged my egr I used a long breaker bar and really cranked on it. I said to myself "Yup, that's never coming off again....". Lost it in a rally. It points right at the coolant lines running into the heater core and will release virtually all of your boost pressure. Check those un-rusted-on exhaust bits often was the lesson for the day.
|
dunhamr1 Ryan Dunham Mega Moderator Location: Hurst, TX Join Date: 09/17/2015 Age: Settling Down Posts: 158 Rally Car: 1989 Merkur XR4Ti |
Good call, I'll be sure to check the plug in the EGR.
It was assembled on the bench so it likely does not have the torque it should have; I'll hit it with the breaker bar now that it's attached to the head. It won't see rally duty anytime soon, so it may well rust itself on before then. |
tdrrally edward mucklow Mod Moderator Location: charleston,wv Join Date: 05/31/2011 Age: Possibly Wise Posts: 763 Rally Car: ford mustang LX 5.0, 1973 VW Beetle |
|
dunhamr1 Ryan Dunham Mega Moderator Location: Hurst, TX Join Date: 09/17/2015 Age: Settling Down Posts: 158 Rally Car: 1989 Merkur XR4Ti |
|
dunhamr1 Ryan Dunham Mega Moderator Location: Hurst, TX Join Date: 09/17/2015 Age: Settling Down Posts: 158 Rally Car: 1989 Merkur XR4Ti |
This come from late January to late February this year, interrupted by two stage rallies, and a weekend of rally training. Things start to be assembled and she starts to look more like a car!
I went to prepare the dizzy with a new cap and rotor, and when I got the cap off, the two rotors were different. I grabbed the dizzy from the motor that came out, and it had the matching small rotor. Subsequently the bolt broke off of the original dizzy. After some discussion here: (link to thread about dizzy swap) 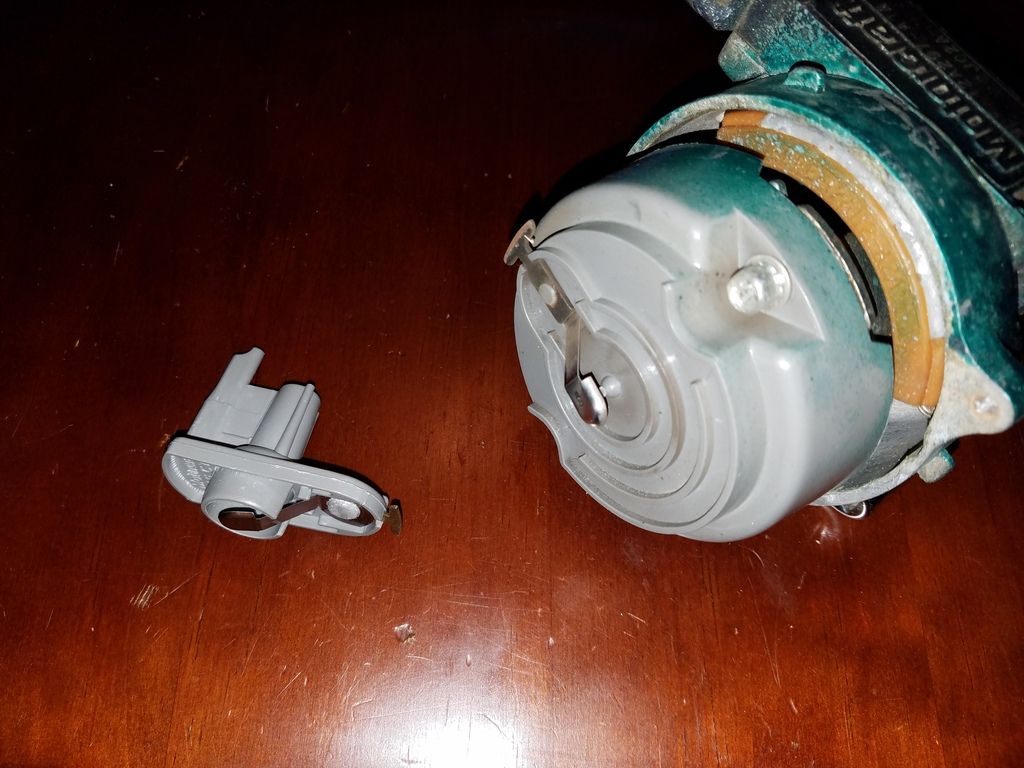
I swapped TFI bolts (5.5 mm deep socket got them out) with allen head screws. (photo?) I had originally intended to use the inline intake because of the bolt locations in the head (The car now has an older SVO head which does not have the second hole for the square intake). Im not going to be running anywhere near 20 psi (at least not for a while). So to get started with a complete intake, I pulled the throttle body off of the inline and attached it to the square intake. Ready to mount to square upper. 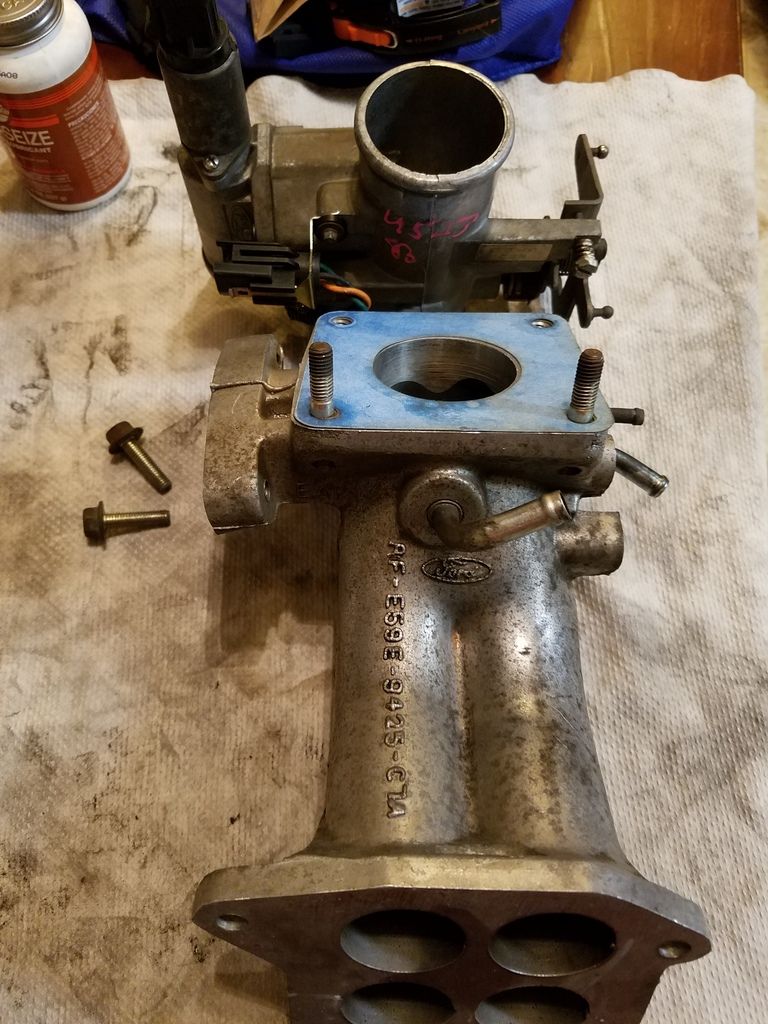
TB was then fully mounted (with anti-sieze on the bolts) to the square upper and set aside until it was needed for assembly. On a recommendation from Jeff at Merkur Midwest, to complete my EGR delete, I tapped a nickel into the hole and left the EGR valve off of the upper intake. 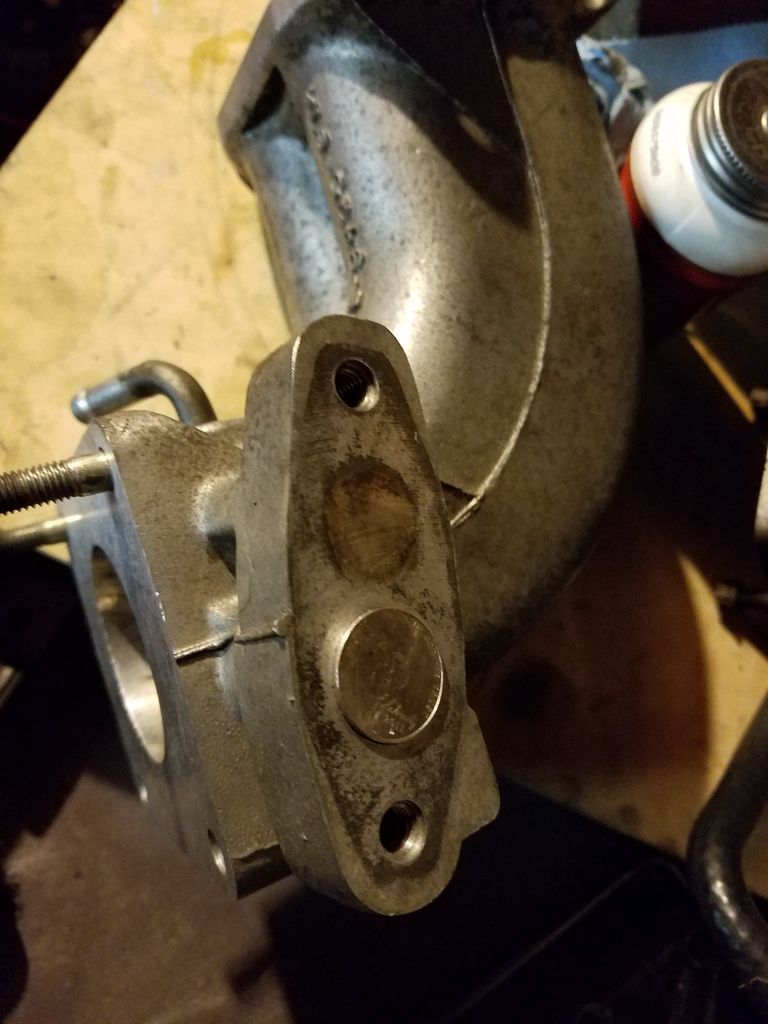
After a trip to MPM, in which I picked up a bunch of parts including cooling system parts I moved on to assembling and making sure I had a complete cooling system. From the Hardline around the back, I attached small coolant line for lower intake outlet. The lower intake was plugged up, previous owner had just capped it off and it had filled up with crap, so I cleaned it out. (lots of scrubbing!) 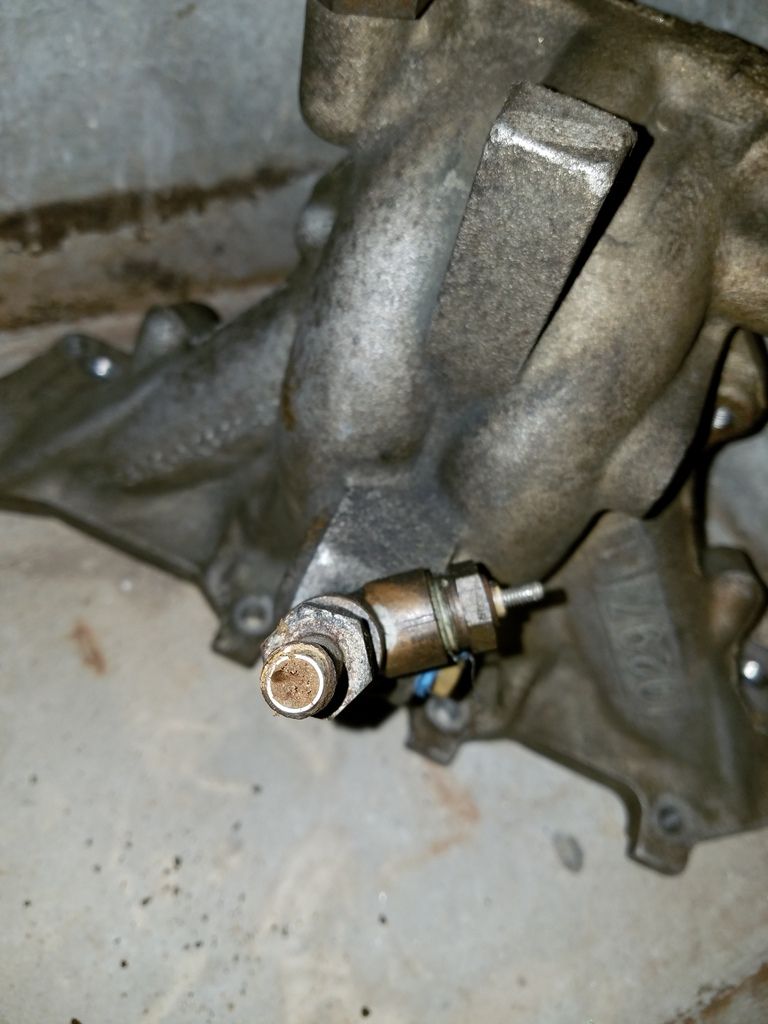
Once the lower intake was clean, I grabbed the fuel rail and the newly-cleaned injectors and test-fit them with the lower intake on the bench. I made sure to coat o-rings with a touch of oil before pressing on, then it went outside to the car. Then the lower intake was attached to the head with a new fel-pro gasket (still just pulling gaskets from the Fel-pro kit I purchased at the beginning). With some conversation with a few Turbo-ford folks, leaving out the single bolt in the front *shouldnt* be too much of an issue on a stock, unported intake. Small coolant line was then connected to the lower intake underneath, then the fuel rail was then attached to the lower intake, along with the ECT sensor and the injector harness. 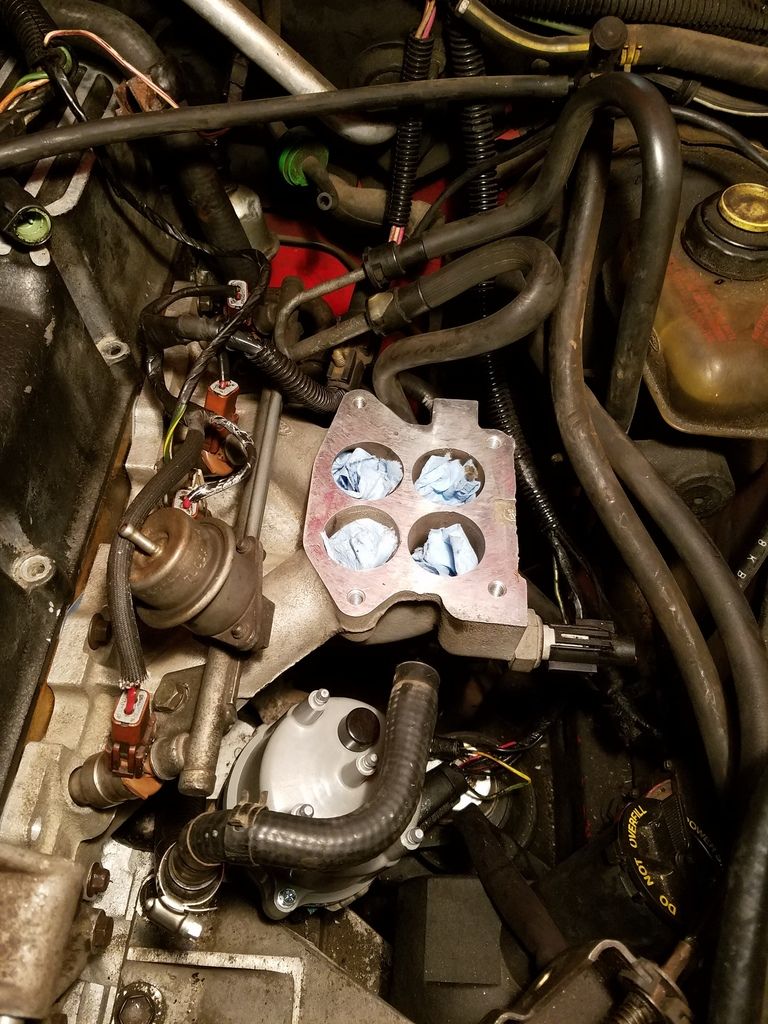
More updates coming as I gather photos and look in the journal... progress progress. Edited 1 time(s). Last edit at 06/21/2017 05:31PM by dunhamr1. |
Sorry, only registered users may post in this forum.
Rally Anarchy © 2014 Corvus Digital –
Part of the AutoShrine Network –
Problems? Send an email to the Webmaster


